


Lead Hazard Removal: A Step-By-Step Guide

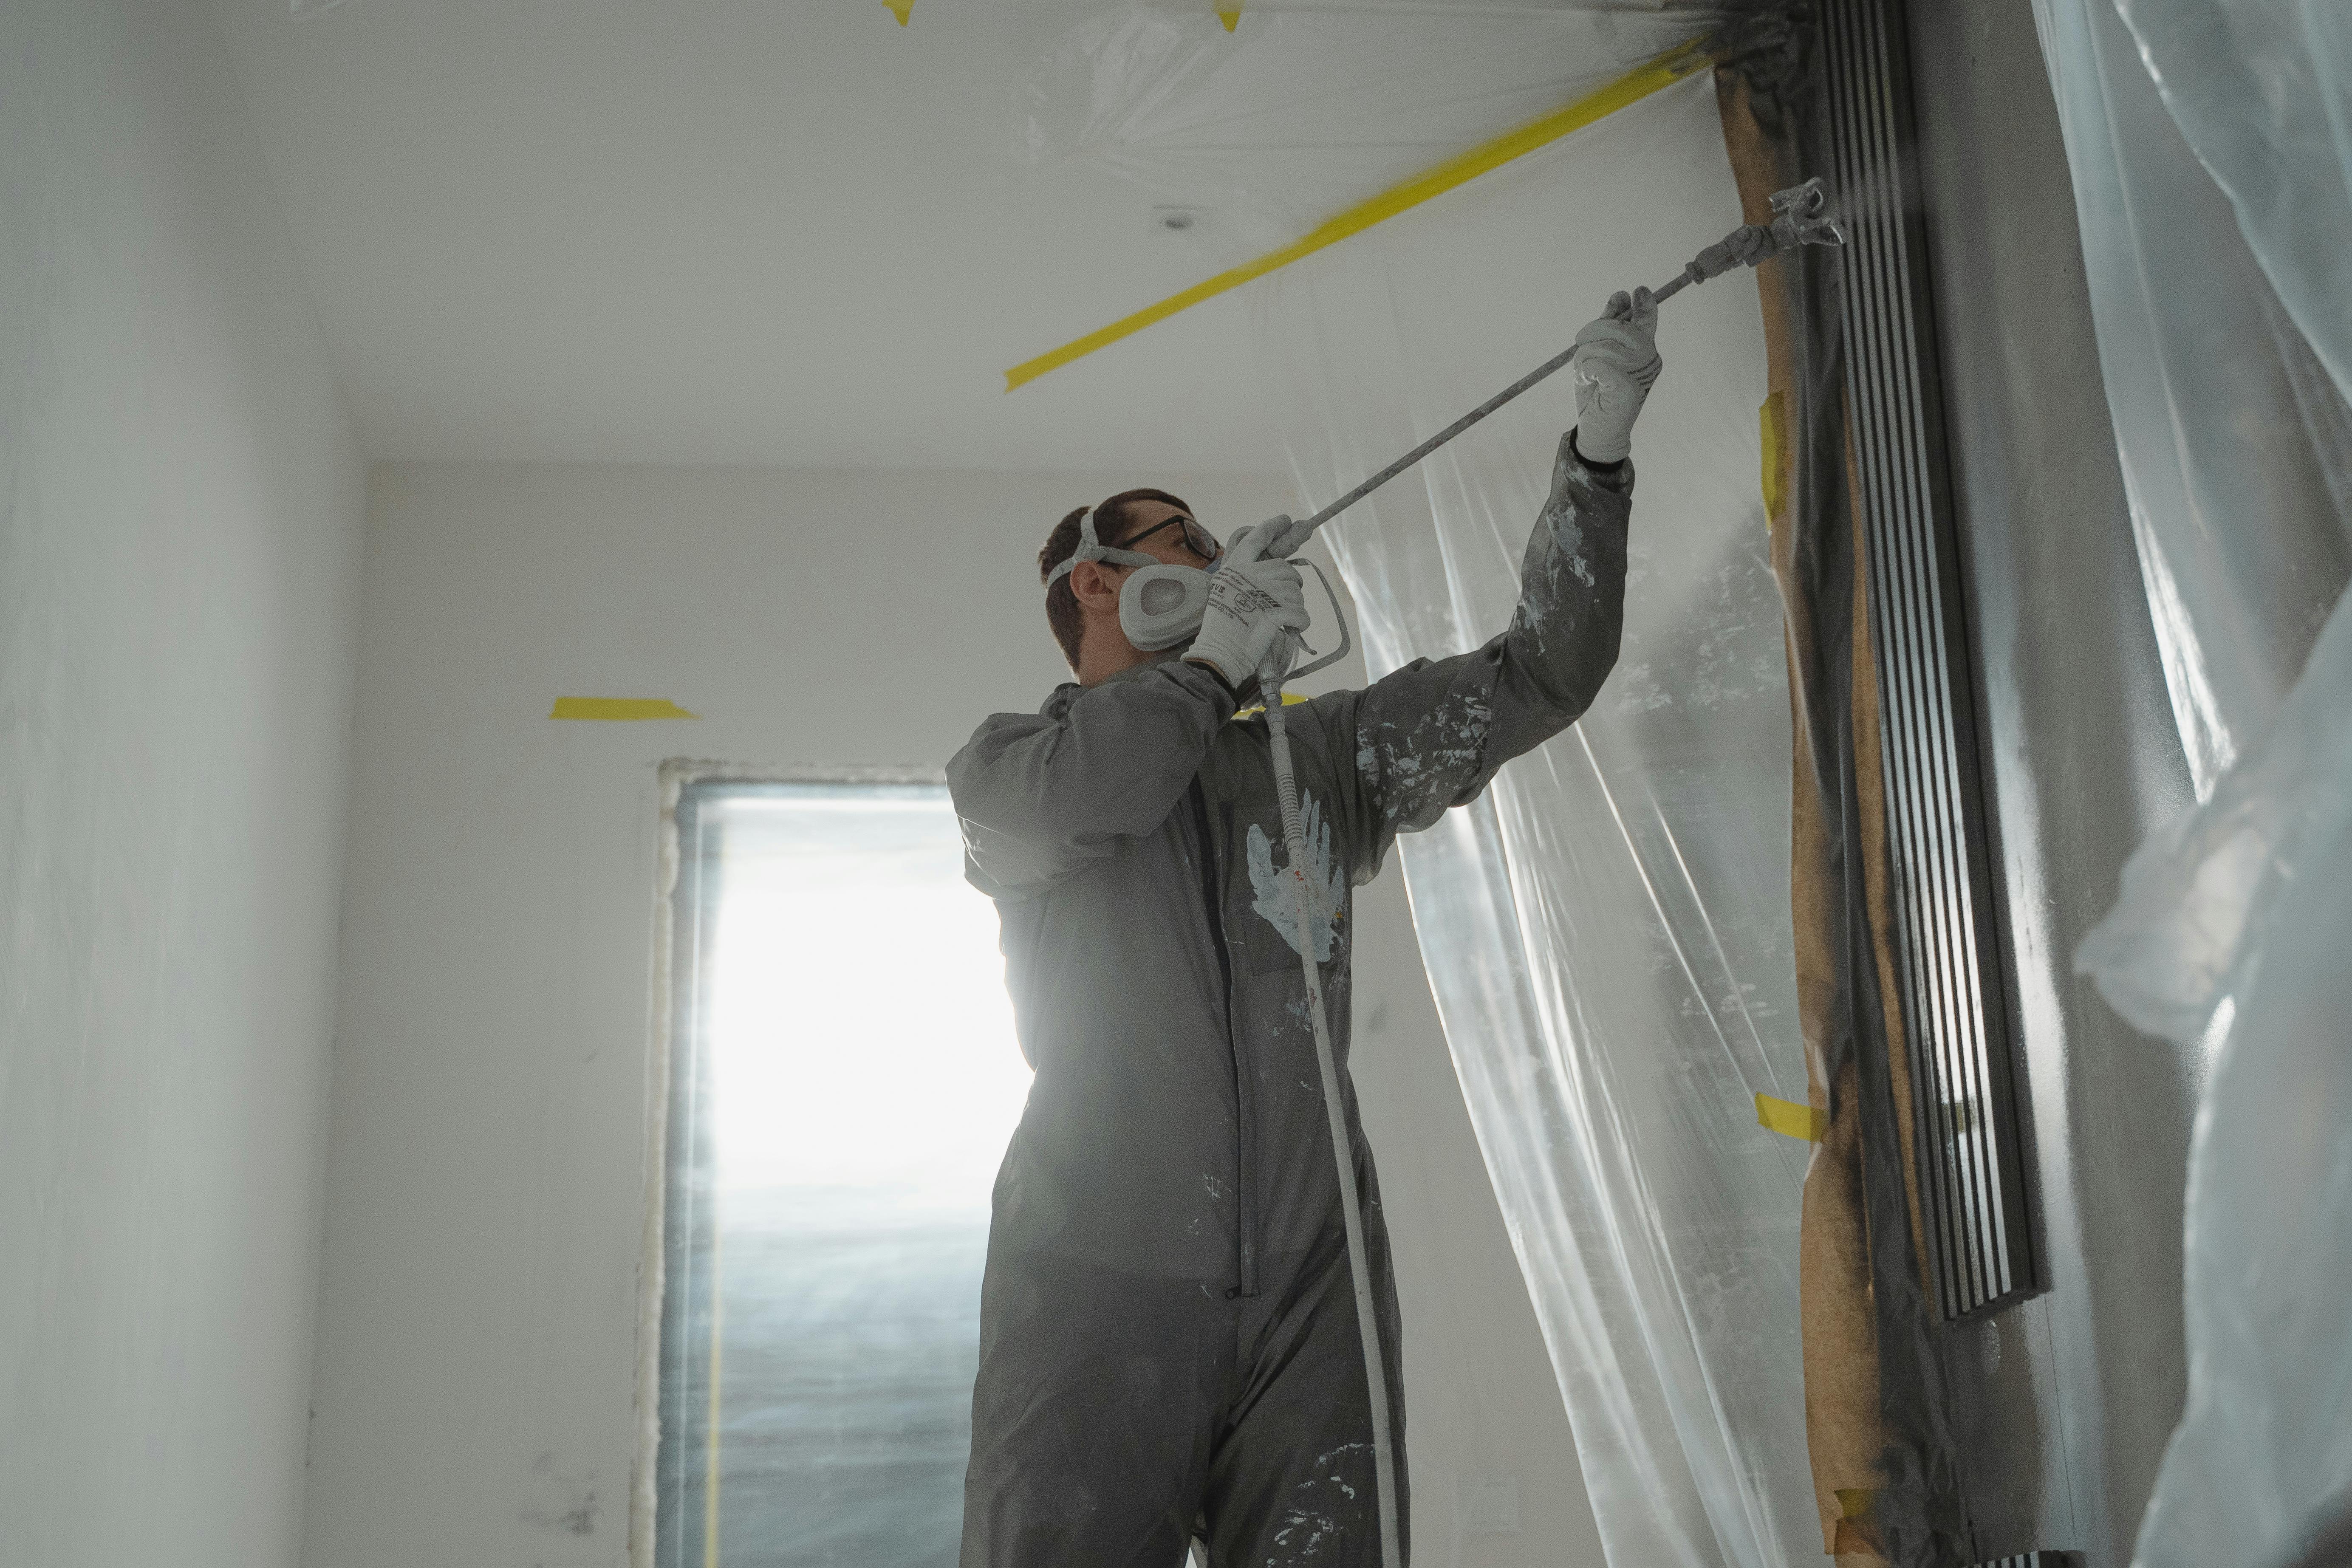
Lead is a toxic metal that was once commonly used in household products, including paint, plumbing pipes, and ceramic glazes. While its use has significantly decreased due to health concerns, lead hazards still exist, especially in older homes and buildings. Exposure to lead can cause serious health issues, making it crucial to address these hazards promptly. This guide provides a comprehensive overview of lead hazard removal, emphasizing safety and effectiveness in mitigating risks associated with lead exposure.
Understanding Lead Hazards
Before embarking on a lead removal project, it is essential to understand where lead might be present and the associated risks. Common sources include:
- Lead-based paint in homes built before 1978
- Soil contaminated by exterior lead paint or past industrial emissions
- Household dust that contains lead particles
- Old plumbing with lead pipes or solder
For more comprehensive information about lead hazards, find additional information here.
Step-By-Step Guide to Lead Hazard Removal
1. Initial Assessment and Testing
Before beginning any removal process, conduct a thorough assessment of potential lead hazards:
- Hire a certified lead inspector to test for lead presence using approved methods like X-ray fluorescence (XRF).
- Collect dust, soil, and water samples for laboratory analysis.
Learn more in this detailed guide about testing and assessment procedures.
2. Planning and Preparation
Once lead has been identified, the next step is to plan the removal process:
- Determine the scope of work and develop a detailed plan outlining the necessary steps.
- Acquire the appropriate personal protective equipment (PPE) to ensure safety during removal.
- Isolate the work area to prevent lead dust from spreading to other parts of the building.
Proper preparation is essential for a successful lead removal project. Explore further insights here.
3. Lead Removal Techniques
Several techniques can be employed for lead hazard removal, depending on the source and extent of contamination:
- Encapsulation: Applying a special coating over lead-based paint to seal in the lead particles.
- Enclosure: Covering lead-painted surfaces with another material, such as drywall.
- Paint Removal: Carefully removing lead paint using wet methods to minimize dust.
- Replacement: Completely removing and replacing lead-contaminated materials, such as windows or plumbing.
Understanding the right technique for your situation is crucial. Read more about this topic to make informed decisions.
4. Cleaning and Verification
After removal activities, a thorough cleaning is essential to ensure no residual lead dust remains:
- Use a HEPA vacuum to clean the work area.
- Wet-clean surfaces with a lead-specific cleaning solution.
- Conduct a clearance test to confirm that lead levels are below the safety threshold.
For detailed cleaning procedures, explore further insights here.
Post-Removal Considerations
Once lead hazards have been addressed, ongoing vigilance is necessary to prevent future exposure:
- Regularly inspect and maintain painted surfaces to prevent deterioration.
- Implement routine cleaning practices to minimize lead dust accumulation.
- Continue monitoring water quality and replace plumbing as needed.
To maintain a lead-safe environment, find additional information here.
Conclusion
Lead hazard removal requires careful planning, execution, and follow-up to ensure safety and effectiveness. By following a structured approach and utilizing appropriate techniques, the risks associated with lead exposure can be significantly reduced. For detailed guidance on each step of the process, learn more in this detailed guide.